

Meet Kristin. An absolutely gorgeous girl who paid $60 to have her exquisite dress rehemmed. And here's the problem. I was asked to do her bustle because she liked the one I did for my daughter the previous year, but had to redo the "professional" hem job for which she paid $60.
I went over her house one day to work on the bustle and found her dress not only had a terribly uneven "professional" hem, it was still too long! This was the first prom dress I altered other than my oldest daughter's dresses at the time, and my thought was, "I could do WAY better than this!" Yes, I could, and yes I can. So...not only did I bustle her dress, I rehemmed it as well.
Hemming is the easy part so I'm not going to discuss that. What I'm going to talk about is the bustle. There are different ways to do a bustle on a dress, and I like to work with the girls and their mother by presenting bustling options. Usually I can see in my mind what I feel is the best option, but I make it the choice of the girl with some parental input.


I found two, beautiful crystal-like buttons at my local fabric store and stitched them on each side the zipper at the bustle attachment location. I used some Timtex (a stiffer, craft type of interfacing) on the inside of the dress to reinforce the bustle point area. This is necessary because the dress fabrics can easily tear or rip with the strain of the bustle weight or with a heel caught in a hemline pulling the bustle down. When the buttons were attached, I stitched through the dress fabric and Timtex together, treating both as one layer. I trimmed the Timtex to a circle so it wouldn't have points that would cause discomfort for Kristin on prom day. On the lower part of the skirt, I attached loops created from a serger chain using Decor 6 decorative serger thread in a color that matched the dress. These attached loops were placed over the crystal buttons and Voila: A beautiful bustle was born!
Total cost: approximately $4-$5 for materials. I didn't charge her for any labor for the hemming or the bustle with one caveat. She was to tell no one I did her alterations. I was recovering from a car accident at the time and couldn't handle requests. Hers was easy. I had ample notice and worked on it the days I felt well enough to do the alterations. I don't like saying no to prom girls so I wanted to pull the plug on any requests so I wouldn't be forced to say that dreaded word.
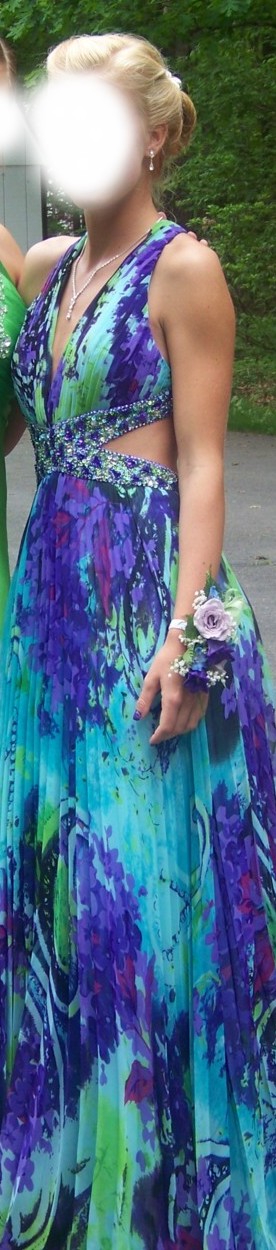
The result? See for yourself :) ! Kristin looks AMAZING. She is a beautiful girl in a beautiful dress that fits her like a dream and was finally altered and bustled just right. The crystal buttons were a perfect match, and the bustle style is perfect for the dress. The hem is perfect! (No thanks to the first "professional" hem job that was done by someone else.) Kristin was a joy to work with, very easy going, and easy to please.
The girl looks like she is gorgeous and I love her hair and her dress is beautiful!!! Good job Kat for helping her out, well done!!!
ReplyDelete